
Brick Landscaping Ideas That’ll Transform Your Yard

I’ve spent the better part of five years experimenting with brick in my own yard — and trust me, I’ve made every mistake you’re about to avoid.
Bricks aren’t just for walls anymore. They’re one of the most versatile, budget-friendly materials you can use to completely change how your outdoor space looks and feels. Plus, they last forever if you install them right.
Let me walk you through15 ideas I’ve either tried myself or watched neighbors pull off successfully. Some are dead simple weekend projects. Others take a bit more planning. But every single one is doable without hiring a crew.
Learn more: Small Narrow Garden Designs That Actually Transform Tight Spaces
Why Brick Works So Well for Landscaping (Even If You’re Not Handy)
Here’s the thing about bricks — they’re forgiving.
You can adjust them. Move them around. Pull one out and replace it without tearing up your whole project. Can’t say that about poured concrete.
They also age beautifully. That slightly weathered, moss-touched look? That’s the goal for a lot of people. And bricks get there naturally.
Cost-wise? You’re looking at anywhere from $0.50 to $2 per brick, depending on whether you go reclaimed or new. Compare that to stone pavers at $5–$15 each, and you’ll see why so many DIYers start here.
1. Classic Brick Garden Edging (The Gateway Project)

This is where most people start — and honestly, it’s a smart move.
Dig a trench about 4–6 inches deep and roughly twice the width of your brick. Lay the bricks vertically (standing up) or at a 45-degree angle for that saw-tooth look.
Pro tip I learned the hard way: Don’t skip leveling the trench bottom with sand. I skipped it once. The bricks shifted after the first heavy rain, and I spent a Saturday afternoon redoing the whole thing.
If you want the bricks to stay put, pack soil tightly on both sides. Some people use a rubber mallet to tap them in — I just use my boot.
2. Herringbone Brick Walkway
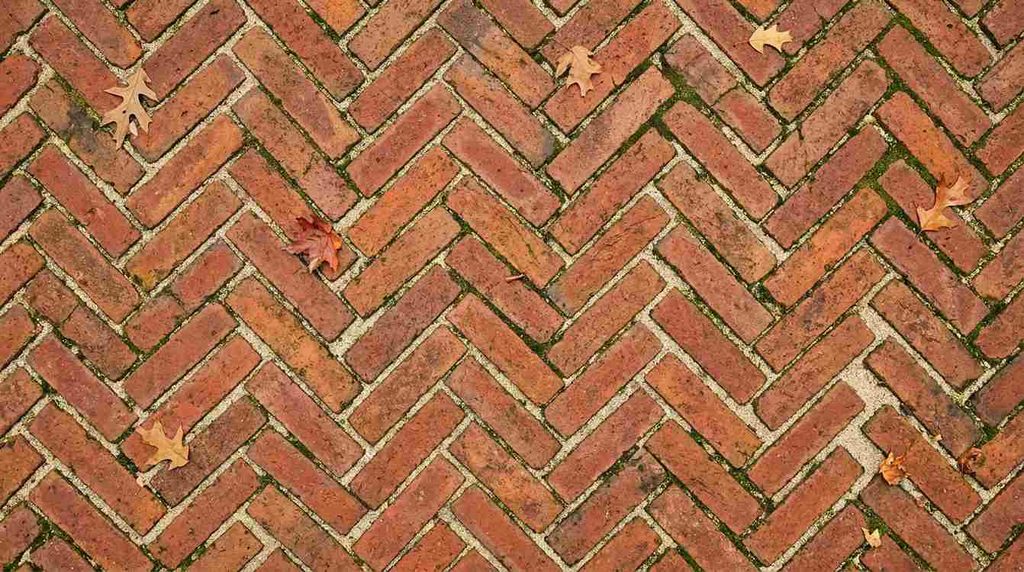
This pattern looks way harder than it actually is.
You’re basically laying bricks in a zigzag pattern — each brick at a 90-degree angle to the one next to it. It creates this interlocking effect that’s not only gorgeous but also really stable underfoot.
What you need:
- Gravel base (2–3 inches)
- Layer of sand (1–2 inches)
- Bricks (lots of them)
- Polymeric sand for the gaps
I did a 12-foot walkway in about two afternoons. The hardest part? Cutting the edge bricks to fit. A brick chisel works, but if you’re doing a long path, rent a wet saw for the day.
3. Raised Garden Bed with Brick Borders

Instead of buying those flimsy metal or plastic garden bed kits, just stack bricks.
Three or four rows high gives you enough depth for most vegetables and flowers. No mortar needed if you’re going low — just stack them. For anything taller than four rows, you’ll want to stagger the bricks (like a real wall) and maybe use some construction adhesive on the corners.
I built two 4×8 beds this way. It cost me about $60 in bricks total. They’ve been sitting there for three years without any shifting.
Bonus: The brick retains heat, which tomatoes and peppers absolutely love.
4. Brick Fire Pit Surround

Not a full fire pit — just the decorative ring around a metal fire bowl or insert.
Dig a shallow circle. Fill it with pea gravel. Then lay bricks in a ring, tight together. You can go one row or stack them two or three high.
It defines the fire area, keeps people from stepping too close, and gives you a spot to rest your drink while you’re out there.
I’ve seen people do this in under an hour. It’s one of those projects that looks intentional and finished without much effort.
5. Brick Patio
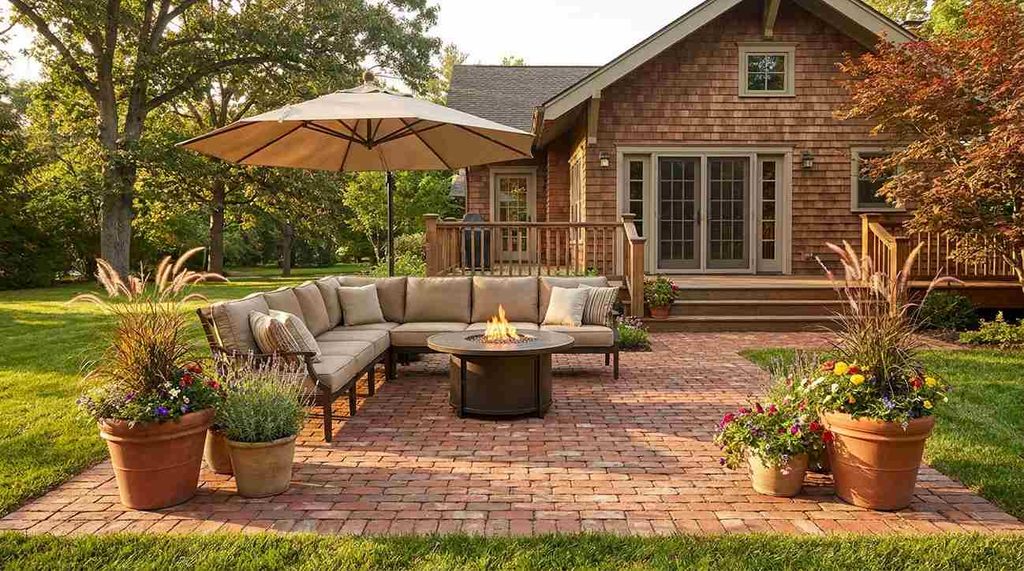
I’m not gonna lie — this one’s a commitment. But it’s not complicated.
Steps I followed:
- Mark out your area
- Excavate 6–8 inches deep
- Lay landscape fabric (stops weeds)
- Add 4 inches of gravel, compact it
- Add 2 inches of sand, level it
- Lay bricks in your chosen pattern
- Sweep polymeric sand into the cracks
- Mist with water to activate the sand
Took me and a friend two full weekends for a 10×12 patio. We went with a running bond pattern (basically just offset rows). Nothing fancy, but it’s held up perfectly.
Biggest mistake people make? Not compacting the base. You need a plate compactor. Rent one. Seriously.
6. Brick Tree Ring
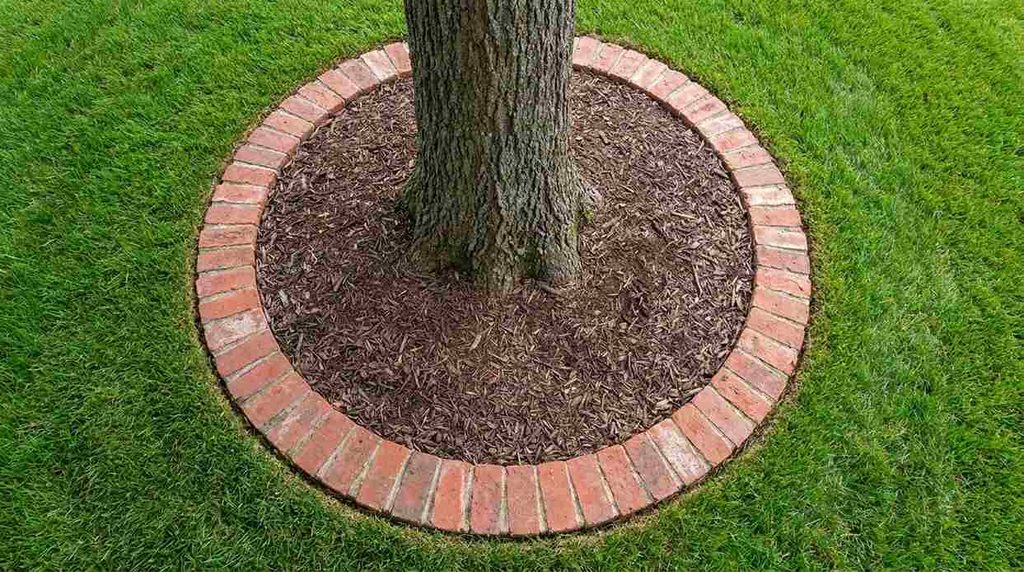
This is a clean, simple way to define the area around a tree and keep mulch from spreading all over your lawn.
Just lay bricks in a circle around the trunk — leave about 2–3 feet of clearance so you’re not damaging roots. One layer is fine. Fill the inside with mulch or plant shade-loving groundcover.
I’ve done this around three trees in my yard. It takes maybe 20 minutes per tree. Looks tidy. Keeps the mower from getting too close.
7. Vertical Brick Accent Wall (For a Modern Look)

This isn’t structural — it’s decorative.
You’re building a short wall (2–3 feet tall) as a backdrop for a garden bed or seating area. Stack the bricks with mortar, or dry-stack them if you’re going for a rustic vibe.
I’ve seen this done along a fence line to add depth. You can also use it to create separation between different zones in your yard — like between the patio and the lawn.
Warning: Anything over 3 feet, you probably want to consult someone who knows masonry. Retaining walls that hold back soil need proper engineering.
8. Brick Border Around Driveway
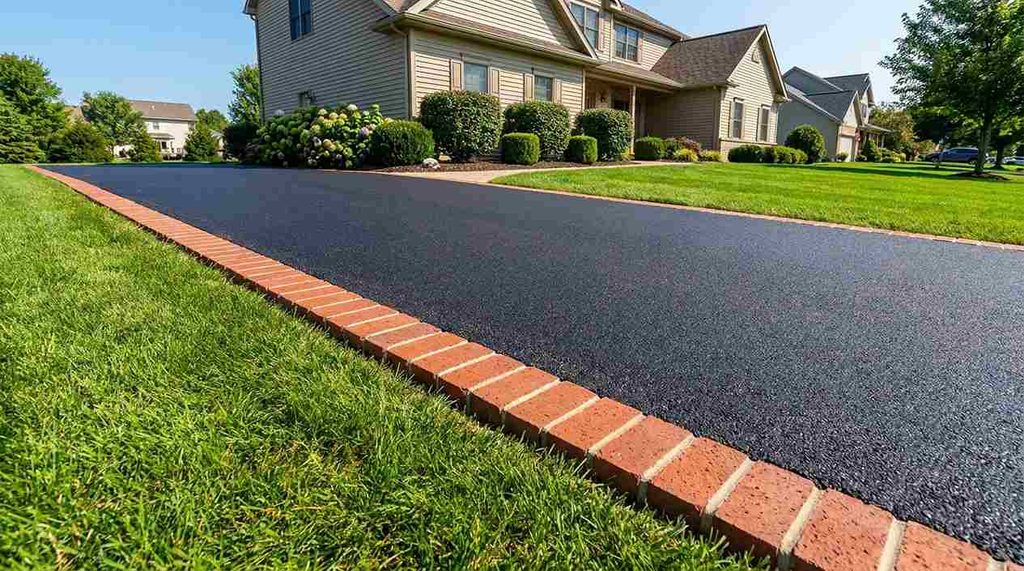
This makes your driveway look intentional instead of like someone just poured asphalt and called it a day.
Lay a single row of bricks along each edge. You can set them flat or on their side. If you’ve got a gravel driveway, this keeps the gravel from migrating into the grass.
Cost: Maybe $30–$50 depending on how long your driveway is. Time: A couple hours.
9. Stepping Stone Path with Brick Accents
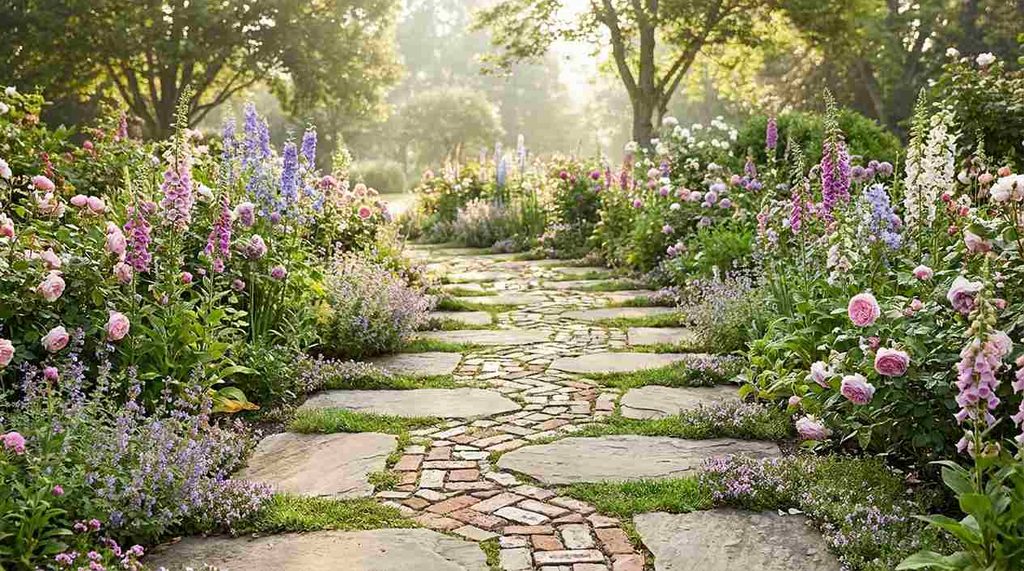
Here’s a twist: instead of a full brick path, use large stepping stones and fill the gaps with brick chips or small brick pieces arranged in a mosaic style.
It’s artsy. It’s different. And it uses up broken or leftover bricks you might already have sitting around.
I did this leading from my back door to the garden shed. Gives it a cottage garden feel without the formality of a full walkway.
Learn more: How to Care for Monstera Plants:Tips for Thriving Plants
10. Brick Planter Box

You can build a freestanding planter box the same way you’d build a raised bed — just smaller and maybe with a bottom.
I made one that’s 3 feet long, 18 inches wide, and about 2 feet tall. Sits on my patio. I filled it with herbs.
If you’re putting it on a deck, line the inside with plastic sheeting so water doesn’t leak out and stain the wood underneath.
11. Retaining Wall (For Sloped Yards)

This is where brick really shines.
If you’ve got a hillside or any kind of slope, a low brick retaining wall can level out a section for planting or seating.
Key points:
- Dig into the slope slightly so the wall leans back into the hill
- Use gravel behind the wall for drainage
- Don’t go higher than 3–4 feet without getting advice from a pro
I helped a neighbor build one that’s about 2 feet tall and 15 feet long. It turned a weird sloped section into a usable flower bed. It was Saturday.
12. Brick Paver Patterns Around Trees

Instead of a plain circle, get creative. Lay bricks in a spiral pattern, or in quadrants with different orientations.
It’s the same idea as the tree ring, just with a little more visual interest.
I saw someone do a sunburst pattern once — bricks radiating out from the trunk. Took them forever, but it looked incredible.
13. Brick Edging for Flower Beds

Same concept as garden edging, but you’re outlining flower beds instead of lawn borders.
Keep mulch in. Keeps grass out. Gives the bed a defined, finished look.
I’ve done this around every flower bed in my front yard. It makes weeding easier because there’s a clear line — nothing sneaks across.
14. Brick Steps (For Gentle Slopes)
If you’ve got a gradual slope in your yard, you can build simple brick steps.
Each “step” is just a low row of bricks (2–3 bricks high) with soil or gravel packed behind it. Space them out every 3–4 feet depending on the grade.
Not talking grand staircase here — just functional steps that make walking up or down a slope easier and safer.
15. Decorative Brick Path Through a Garden
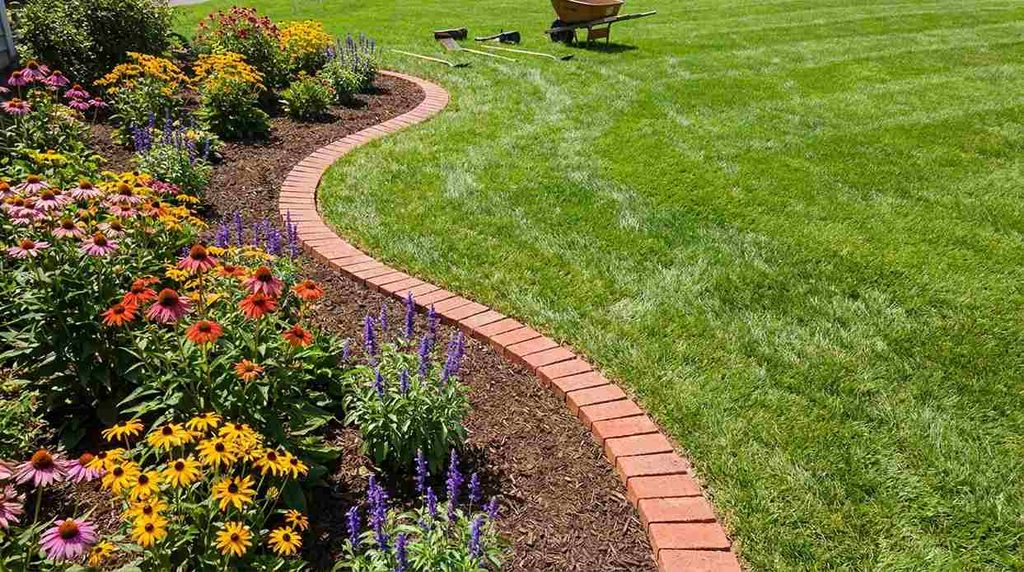
This is less about function and more about guiding the eye.
Lay a narrow brick path — maybe just one brick wide — winding through a flower garden or around plantings. It invites people to walk slowly and look around.
Works especially well in cottage-style or informal gardens where you want that “secret garden” vibe.
Final Thoughts
It’s cheap. It’s durable. It doesn’t require a ton of skill to work with. And even if you mess up, you can usually fix it without starting over.
Start small. Try the edging project or a simple tree ring. Once you see how manageable it is, you’ll probably want to keep going.
I’m six projects deep now and still finding new ways to use leftover bricks. There’s something satisfying about a material that’s been around for thousands of years — and still solves problems better than half the stuff they sell at the big box stores.